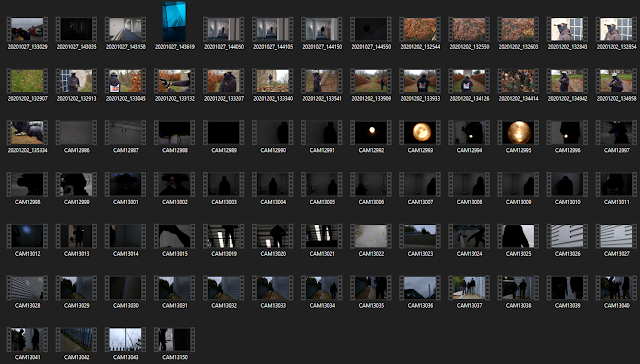
Once we had established where we planned to film next, we were eager to begin. The filming location was a secluded area of our school's grounds that featured thick woodlands and abandoned belvedere. We felt this would be an excellent area for our project and play well into our theme of a supernatural thriller. A few days before filming with the actors, Tom Alex and I scoped out the area and I took some establishing shots of the area. These were great for adding tension as the area was shrouded in fog at the time. Unfortunately on the day, we filmed with Ben there was no fog. This was not an issue though as our project is a trailer, continuity is not required between shots. Although we did talk about how the drastic change in appears the filming location had between filming shoots could be implemented into the supernatural elements of our film.
These two photos show a great difference in the filming location between the two filming dates.
This was one of the establishing shots that I recorded during our brief exploration of the filming location. The
thick veil of fog brings out a sense that this area is
isolated and I think that idea will help keep the audience on the edge of their seat.
This is an over-the-shoulder shot that I took of Ben moving around the building. This technique was used to make the audience feel as if they are entering this uncharted territory with the character and produce a sense of dread of what is around the corner. Then Ben steps further away from the camera showing his swift and efficient movement as he traverses the area, emphasising the specialist military themes of our project.
This clip is an edit of the previous video. I like how the over-the-shoulder technique brought into the scene and made you feel as if you there with the protagonist. To get a stronger grasp of how the footage would look, I put the clip into Premiere Pro and tested out how I wanted the footage to look like. It was also a chance to see if the stabilization effect in Premiere Pro would be effective. As well as this I experimented with the idea of cropping the footage to create cinematic bars to tightly fix the audience's attention on the point of focus.
Once we had gathered all the footage we needed around the building, we looked around our schools ground to see if anything else would be of use to us. In the photo, we found a stretching brick wall and felt it would be an effective tool to use with a dolly shot as the straight lines of the bricks would help convey a sense of movement and tell the audience that character is moving across a location.
In this clip, we have Ben traversing through the low ground and past a brick wall. The bricks moving past on the right create a sense of movement emphasise a greater meaning behind this character's journey to a location. As well as this, the gun is pointed towards the audience presents the character in a position of power. This will be used to contrast with scenes where the character struggles against the antagonist.
After this set of filming, we had created a large library of video clips that will be used in numerous way to produce our ideal trailer.


